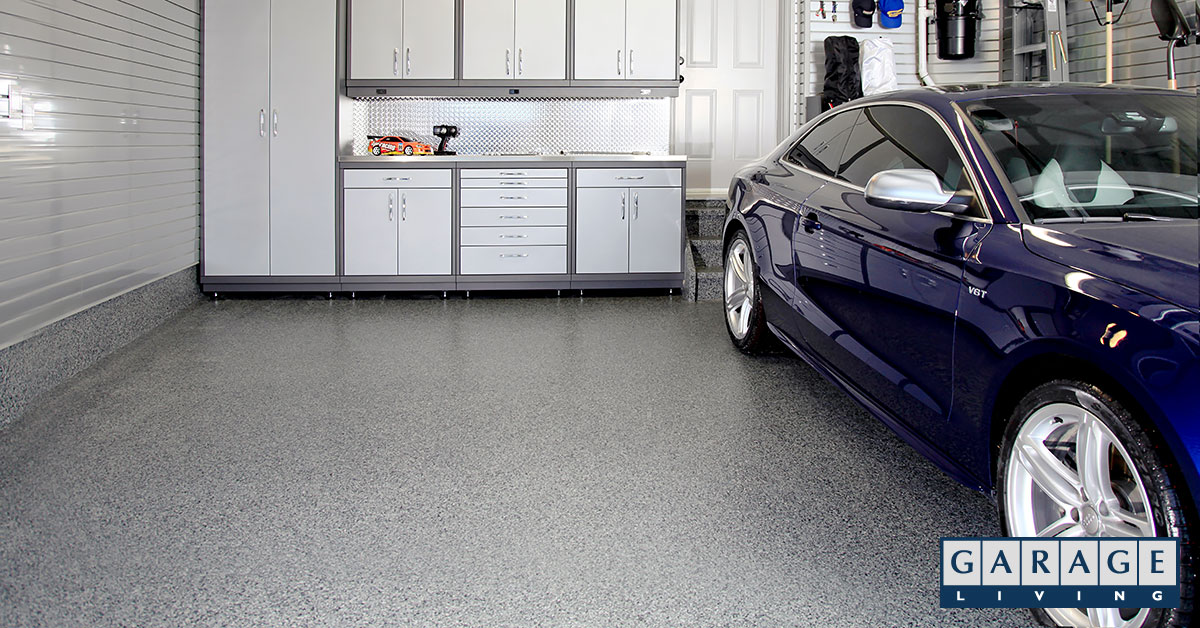
Here are some of the steps and considerations to be taken by anyone DIY’ing a garage floor resurfacing project, including when the best time of year is to do this job.
Before you begin coating your garage floor, there are several things you should do to prepare. First, set aside at least three days to apply an epoxy coating (which is the type of coating most DIY flooring kits use) properly.
Secondly, you must ensure that the weather for the next few days will be right to allow proper drying. The temperature of the concrete must be at least 55°F, so the air temperature should be somewhere between 60-80°F for optimum drying.
The concrete must also be dry, so try to pick a sunny series of days without high levels of humidity. Depending on where you live, these conditions may be more common in the spring, summer, or fall, so choose when you will complete this project accordingly.
Success requires proper preparation
Before purchasing all of the requisite supplies and dedicating an entire weekend to this project, you will want to test your garage floor to ensure it is suitable for an epoxy coating.
Not all concrete floors are the same and some will not hold a coating. To determine if your floor is suitable to proceed, test to determine if dampness is coming up through the concrete from the ground below.
If moisture is evident, the floor cannot be coated. Similarly, if a concrete sealer has been used on the floor previously you will not be able to apply an epoxy coating.
If the concrete is new you must wait at least a month or two for it to properly cure and dry. Finally, if the floor has been painted, remove the paint before beginning.
To test the concrete for moisture, tape a plastic bag to the garage floor for 24 hours. Lift a corner and check to see if the concrete below is dry. If you see moisture, do not coat the floor, as the water pressure will break the bond.
Cleaning a garage floor for a resurfacing
Renting a walk-behind power floor scrubber with a stiff brush attachment can make the floor prep job much easier and save your back from a lot of strain. You will also want a wet vacuum in order to expedite drying once the floor is clean.
Much of the first day will be spent cleaning and degreasing, removing oil spots, and etching the garage floor in preparation for the coating. Using a stiff bristle brush and cleaner or degreaser, scrub oil stains aggressively. Next, wipe with cotton rags or paper shop towels. Repeat until the spot no longer feels greasy and water does not bead up on the surface.
Wet the entire floor with a hose and scrub back and forth with an electric floor scrubber using a brush attachment or coarse scrubbing pad. Pour cleaner or degreaser onto the floor as you go.
When the floor is clean, use the wet vacuum to clean up the leftover water and degreaser. Allow the floor to dry completely before filling cracks and applying the first coat of epoxy the following day. The first coat must dry thoroughly before applying a second coat on day three of the project.
Here’s another option: hire a pro for your flooring job
Some of you may not be DIY’ers. A floor resurfacing project may be beyond your level of experience and outside your comfort zone, or perhaps you simply lack the time or the will to do this type of work yourself.
This is what professionals are for! Garage Living has an advanced proprietary floor coating process that involves using state-of-the-art equipment for our coating applications.
We also use Floortex™ floor coatings, a polyaspartic product that is far superior to any epoxy coating in both appearance and durability.
Save your free time and entrust your garage floor project to an expert. Schedule a free design consultation with us today!